Videos
Learn more about ODL Add-On Blinds for Doors, how to select the correct blinds unit for your door, and how to install your blinds with these short, informative videos.
Features & Benefits
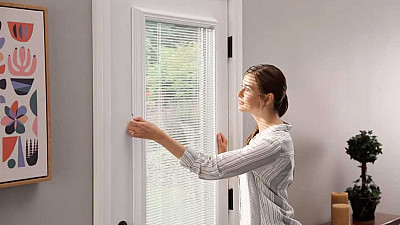
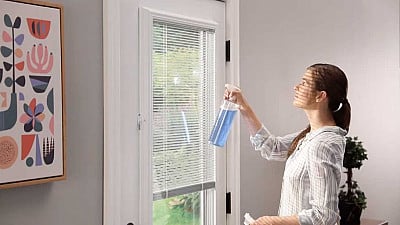
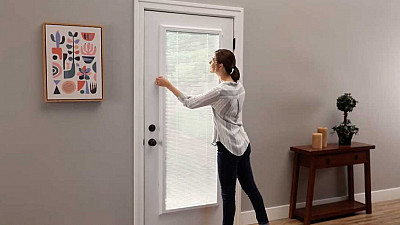
ODL Add-On Blinds for Doors provide light and privacy control with smooth fingertip adjustment to tilt and raise or lower the blinds. All while eliminating the banging, swinging, and dangling cords of traditional door blinds. Installation is easy, and the blinds never need dusting.
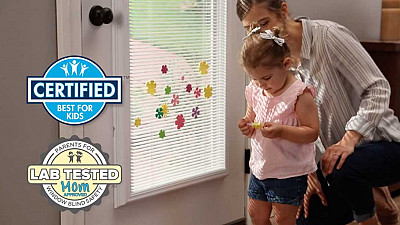
With blinds enclosed behind a layer of tempered safety glass, the cordless blinds design is safer for children and pets and energy efficiency is improved.
A welcomed addition to your door
(1:36)
ODL Add-On Blinds for Doors provide light and privacy control. Child and pet-safe, they eliminate the banging, swinging, and dangling cords of traditional blinds. ODL Add-On Blinds for Doors are enclosed behind a layer of tempered safety glass, helping to increase energy efficiency and requiring no dusting to keep clean!
Enjoy light and privacy control
(0:41)
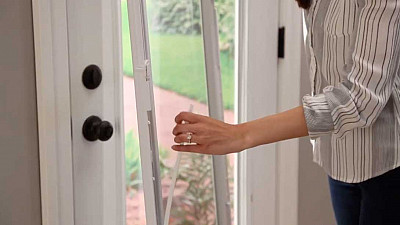
ODL Add-On Blinds for Doors allow you to adjust the light and privacy in your home with easy fingertip controls. Two integrated operators provide smooth adjustments to tilt and to raise or lower the blinds.
Energy efficient
(0:29)
ODL Add-On Blinds for Doors help increase energy efficiency by adding an additional layer of tempered safety glass to your entry door. They help reduce heat loss in the winter and solar heat gain in the summer, keeping you comfortable and helping you keep heating and cooling costs in check.
Safer for children and pets
(0:54)
ODL Add-On Blinds for Doors are securely enclosed behind a layer of tempered safety glass. This eliminates the potential danger posed by exposed blind slats and dangling cords, making ODL blinds-between-glass the safer cordless blinds option for children and pets.
Selecting ODL Add-On Blinds for Doors
ODL Add-On Blinds for Doors are easy to install, since the Add-On Blinds unit installs right over your existing door glass. Selecting the right Add-On Blinds for your door is easy. The first step is to determine your door glass frame type. View these short videos to see examples of different door glass frame types.
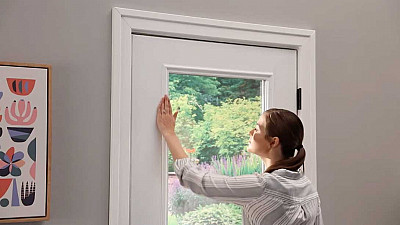
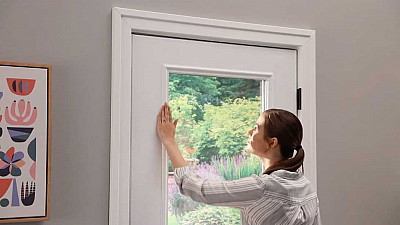
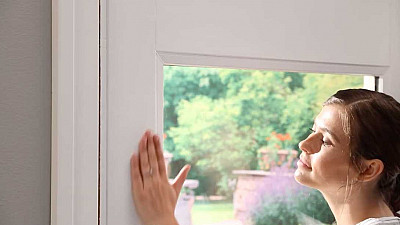
How to identify your door glass frame type
(0:28)
It's simple to identify if your door has raised frame or flush frame door glass just using your hand. This short video shows you how.
How to identify raised frame door glass
(0:19)
It’s easy to determine if your door glass has a raised doorglass frame. If your hand goes up and over the frame as you run it across your door, your door has a raised frame. Watch this short video to see an example of a raised frame door.
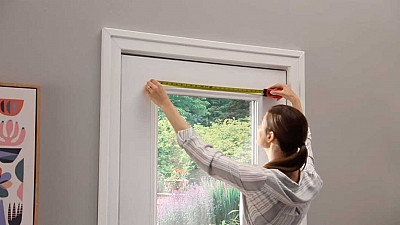
How to measure raised frame door glass
(0:26)
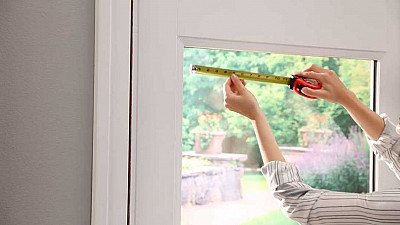
To measure the dimensions of raised frame door glass, start from the outer edges of the frame. Measure left to right for the frame's width. Then repeat the same process from top to bottom to measure the height.
How to measure the dimensions of flush frame door glass
(0:24)
To measure the dimensions of flush frame door glass, start from the visible edge of the glass. Measure left to right for the flush frame's width. Then repeat the same process from top to bottom to measure the height. Watch this short video to learn more.
How to measure lever handle clearance
(0:34)
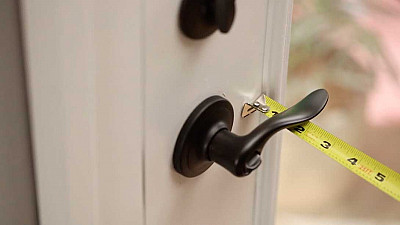
If you have a lever door handle, there is a slight chance your ODL Add-On Blinds unit will interfere when you turn the handle. Measure from the back of the lever handle to the door's surface. Watch this video to find out what clearance is required for adding ODL Add-On Blinds to raised frame and flush frame doors.
Installation
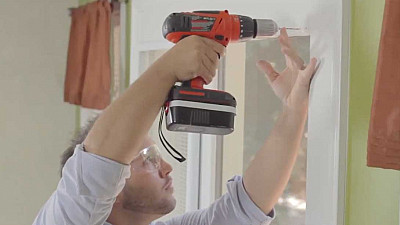
DIY installation of your ODL Add-On Blinds for Doors is simple. And we make it even easier by providing these videos that will walk you through the process, step-by-step.
About the red tab and red screw on ODL Add-On Blinds for Doors units
(0:22)
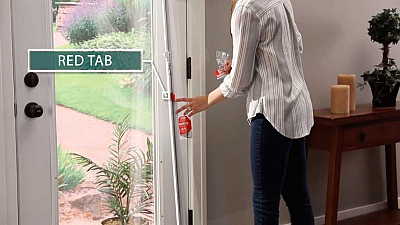
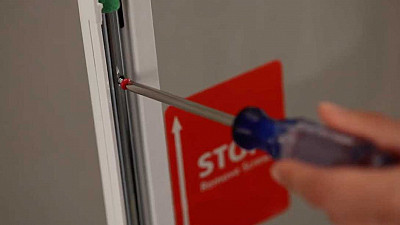
The red tab (on units for raised frame doors) or red screw (on units for flush frame doors) is used to secure the blinds in the raised position during shipping. They should not be removed until you are ready to install the Add-On Blinds unit on your door.
When and how to remove the red tab (for raised frame door glass)
(0:31)
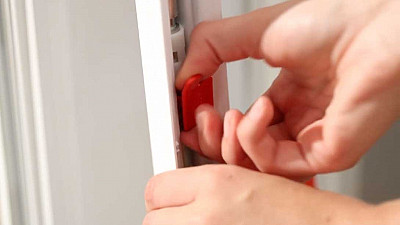
The red tab should not be removed until you are ready to install the ODL Add-On Blinds for Doors unit. Once you're ready to install, pull out and down to remove the red tab. Your blinds will not function until the tab is removed.
When and how to remove the red screw (for flush frame door glass)
(0:29)
The red screw should not be removed until you are ready to install the ODL Add-On Blinds for Doors unit. Once you're ready to install, use a Philips screwdriver to remove the red screw. Your blinds will not function until the red screw is removed.
How to install ODL Add-On Blinds on raised frame doors (full version)
(6:03)
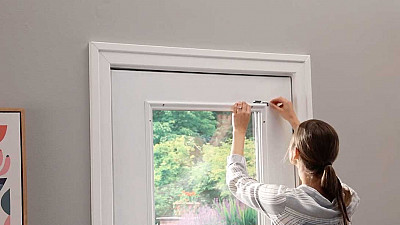
ODL Add-On Blinds for Doors are designed to install quickly and easily on entry, patio, and French doors with raised frame door glass. Installation typically takes less than an hour and requires just a screwdriver. Watch this video for complete instructions.
How to install ODL Add-On Blinds on raised frame doors (short version)
(0:57)
ODL Add-On Blinds for Doors are designed to install quickly and easily on entry, patio, and French doors with raised frame door glass. Installation typically takes less than an hour and requires just a screwdriver. Watch this video for an overview of the installation.
How to remove the ODL Add-On Blinds for Doors filler strip
(0:27)
You may need to remove the filler strip if your ODL Add-On Blinds unit interferes with your door hardware clearance, or if you find you're experiencing condensation issues. To remove, pull the filler strip from the top and slide down. If the filler strip tabs are in the way, clip them off with pliers.


